Understanding Rule Execution and the Rule Lister
This document explains how to use the Rule Lister effectively, with a focus on managing rule execution order to achieve the desired outcomes in your workflows.
Rule Lister Overview
The Rule Lister provides a convenient interface for managing and executing rules. Each rule in the list has an index number displayed on the left. These indexes define the order in which rules are executed, from top to bottom.
Key Features of the Rule Lister:
- Drag and Drop: Reorder rules by dragging and dropping them in the list.
- Search: Locate specific rules by name.
- Edit Options: Rename, duplicate, or delete rules.
- Enable/Disable Rules: Temporarily disable rules to exclude them from execution.
Rule Execution Order
Example Scenario
Imagine you have the following three rules:
- First Rule (Active): For each line item with a price greater than 0, set the quantity to 10.
- Second Rule (Active): Add a product with the SKU
{your SKU}and a price of 10 to a section namedProducts. - Third Rule (Disabled): Deletes all items from the
Productssection.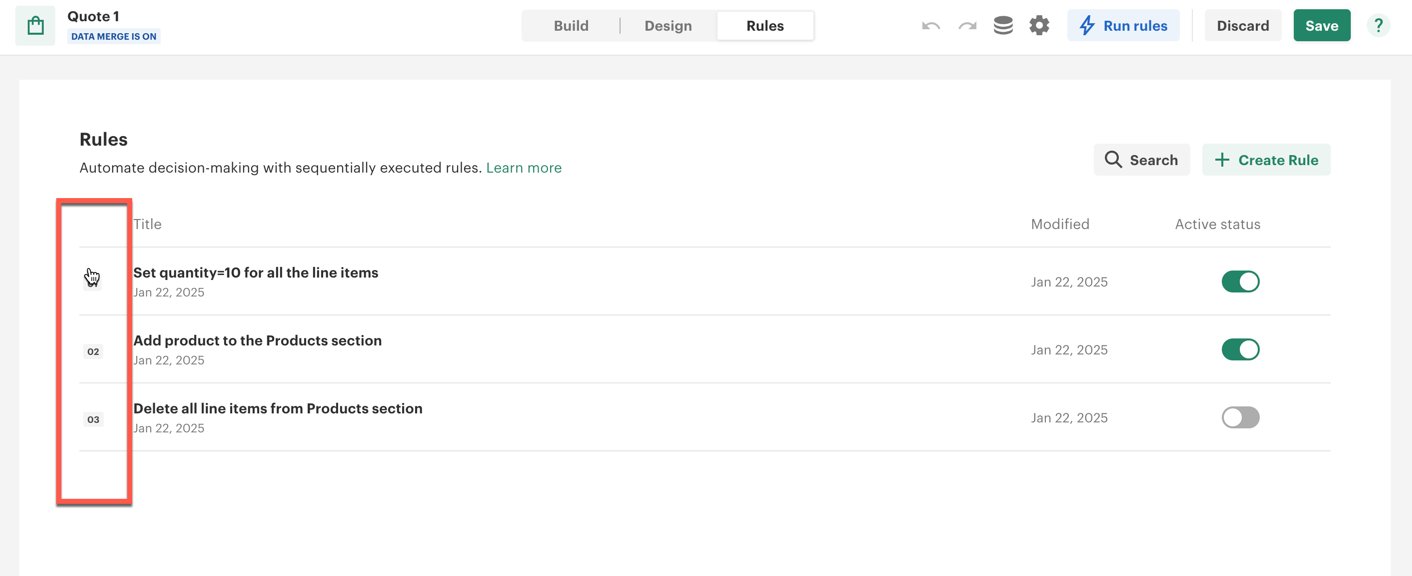
Observations
When these rules execute, their order significantly affects the outcome:
- If no line items exist when the first rule runs, the condition (
price > 0) is false, and the rule is skipped. - The second rule adds a product with a price of 10 and a default quantity of 1.
- Subsequent executions of the first rule will set the quantity of the newly added product to 10.
Adjusting the Rule Execution Order
Problem
Rules may not produce the expected results if they are executed in the wrong order. For instance:
- A rule setting the quantity of line items may fail if no line items exist when it executes.
Solution
Reorder the rules to align with the desired logic. For the example scenario:
- Drag the rule that adds a product (second rule) to the top of the list.
- Place the rule that sets the quantity (first rule) below it.
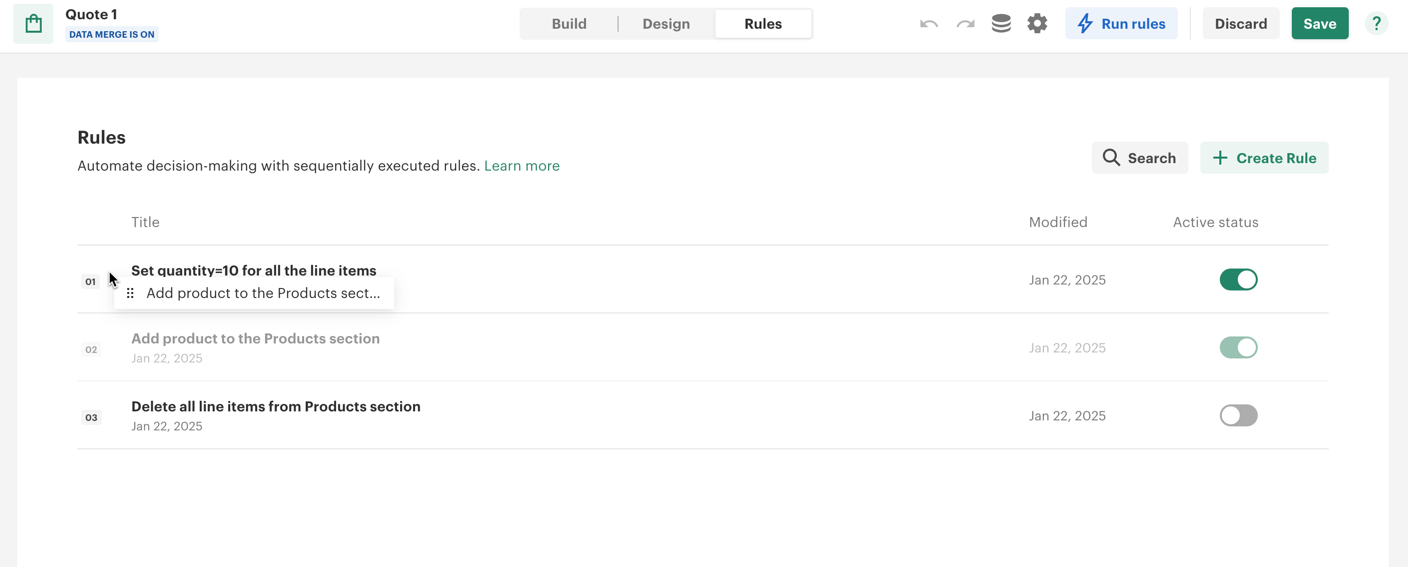
This ensures that the product is added first, and then its quantity is updated.
Special Use Cases
Rule to Delete All Products
A rule that deletes all products in a section is useful for regenerating line items based on new data.
- Default Placement: Place this rule at the top of the list if you want to reset the section before adding new items.
- Caution: Ensure this rule is disabled or removed if you do not intend to clear the section.
Regenerating Line Items
Combine deletion and addition rules to create dynamic, data-driven sections.
- Use the deletion rule first to clear the section.
- Follow it with rules that add and modify line items based on the updated data.
Summary of Best Practices
- Plan the Order: Arrange rules logically to avoid conflicts and skipped executions.
- Use Drag-and-Drop: Adjust the execution sequence easily by reordering rules.
- Enable/Disable Strategically: Disable rules temporarily to test specific logic.
- Test the Workflow: Run the rules and observe the output to ensure they behave as expected.
- Utilize the Rule Lister Features: Rename, duplicate, delete, and search for rules to manage them efficiently.
Example Walkthrough
- Add a product:
- Rule: Add a product with SKU
{your SKU}and price 10 to theProductssection.
- Rule: Add a product with SKU
- Modify the product:
- Rule: Set the quantity of line items with price > 0 to 10.
- Delete all products (optional):
- Rule: Delete all items in the
Productssection (place this rule at the top if required).
- Rule: Delete all items in the
Final Test
Run the rules and verify the output:
- Products are added correctly.
- Quantities are updated.
- Sections are reset when needed.
Thank you for using the Rule Lister. Should you have further questions, feel free to reach out!