Between keeping up with the market and ensuring that your team has the right tools and systems to succeed, business leaders are now faced with more challenges than before when it comes to growing and scaling their businesses.
Documents shouldn’t be one of those challenges.
This article will show you best practices for maintaining quality and control over your business documents inside PandaDoc.
App navigation basics
These are the most common sections you’ll be visiting when in PandaDoc:
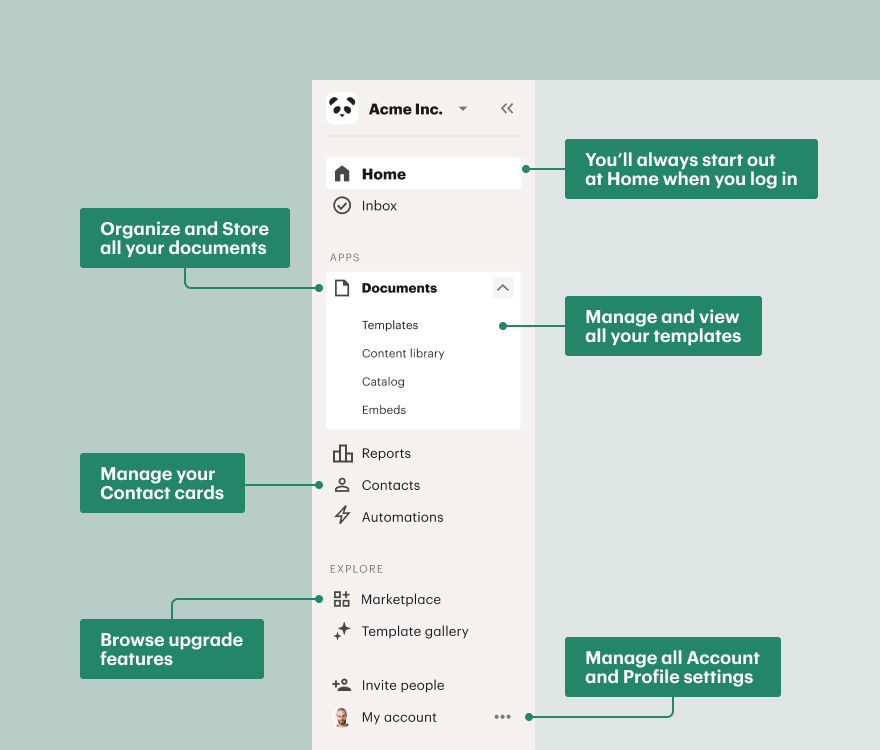
Settings
The Settings section is your one stop shop for all things setup, integrations, user management, billing, and more. These are the sub-sections within your settings:
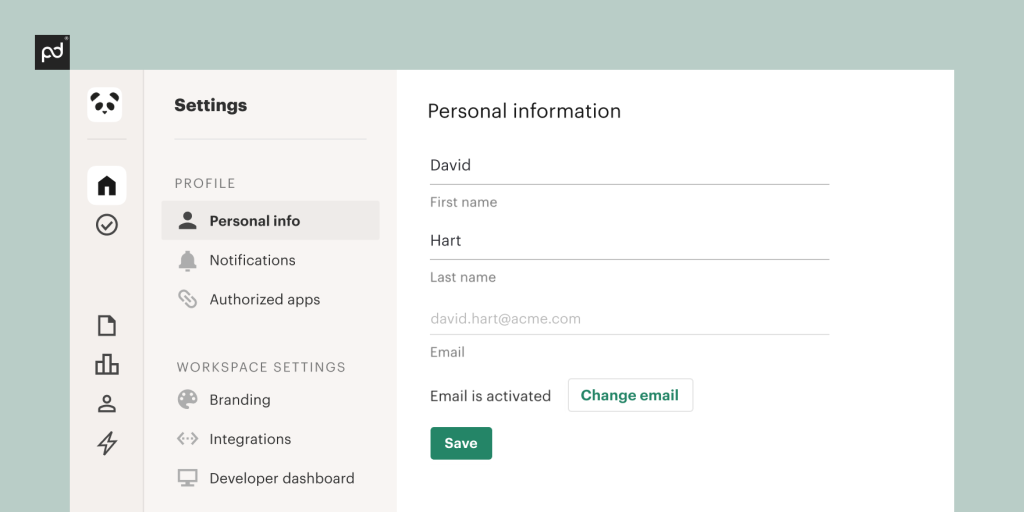
– Profile
In Settings > Personal Info, you can set up your Name, Photo, Signature, Password, plus language preference. Go to Settings > Notifications to set up your Notification preferences.
– Workspace settings
In Settings > Settings, choose default settings for your entire Workspace. These will be the default for any new templates, but can also be modified on a per template basis and a per document basis.
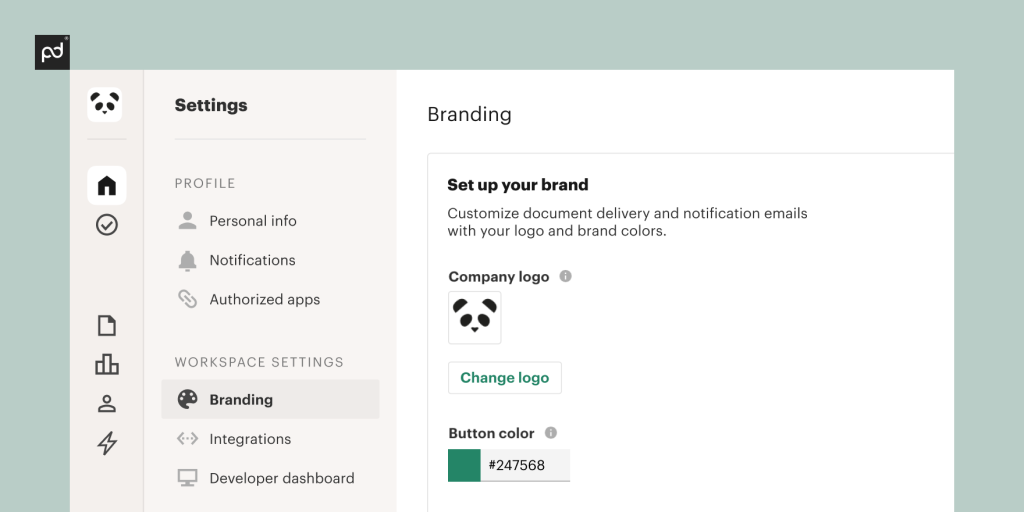
– Branding
In Settings > Branding, you can set up your Logo, Button Colors, Email Footer, and Subject line preferences. Branding is available on Business and Enterprise plans.
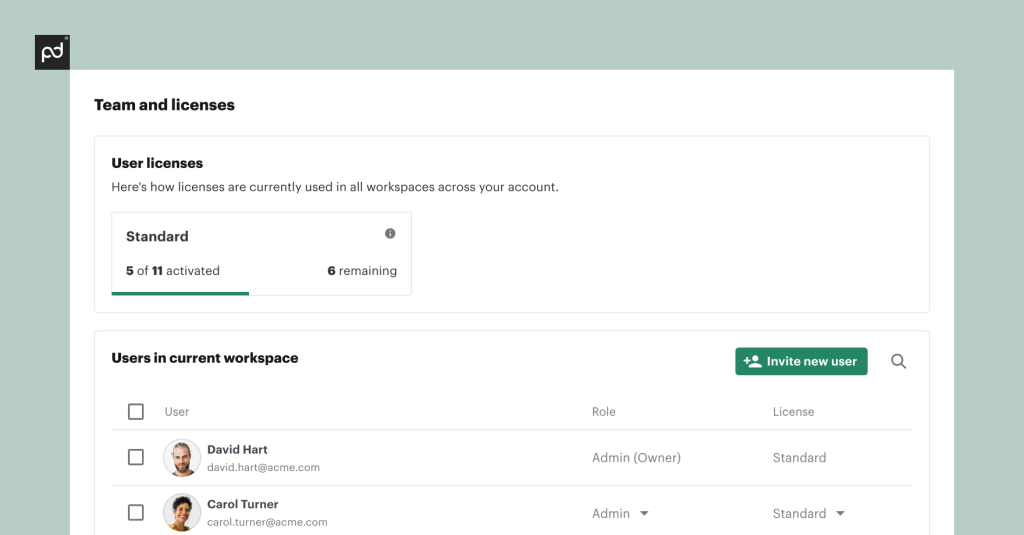
– Inviting new users
In Settings > Team, you can see how many User Licenses are used and available in your account and invite new Users into the Workspace.
You can invite new users by link or by email. To invite by link, select the role you want the users to have. (This determines their level of permissions.)
Then you’ll copy the URL and send it to them via email or direct message. To invite by email, type in their address and select their role, then click ‘Send invitation’.
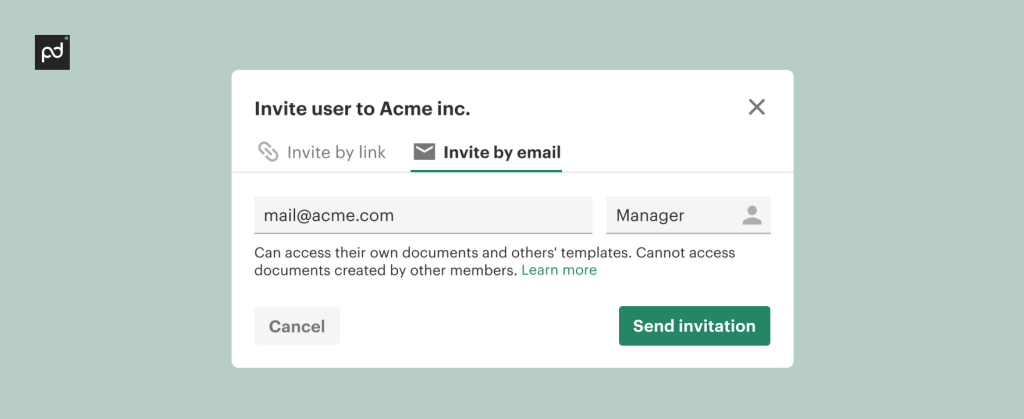
Note: You can Remove User Licenses from your subscription in the Billing panel, but not in the Team settings.
– Integrating your apps
Connecting other apps you use with PandaDoc helps you import and export information to save time. You can use triggers to automate processes and get documents where they need to go faster and simpler.
The instructions for connecting apps varies from app to app, check out the integrations available on our Marketplace.
Creating a template
Learn about the 4 ways to get started creating your Template:
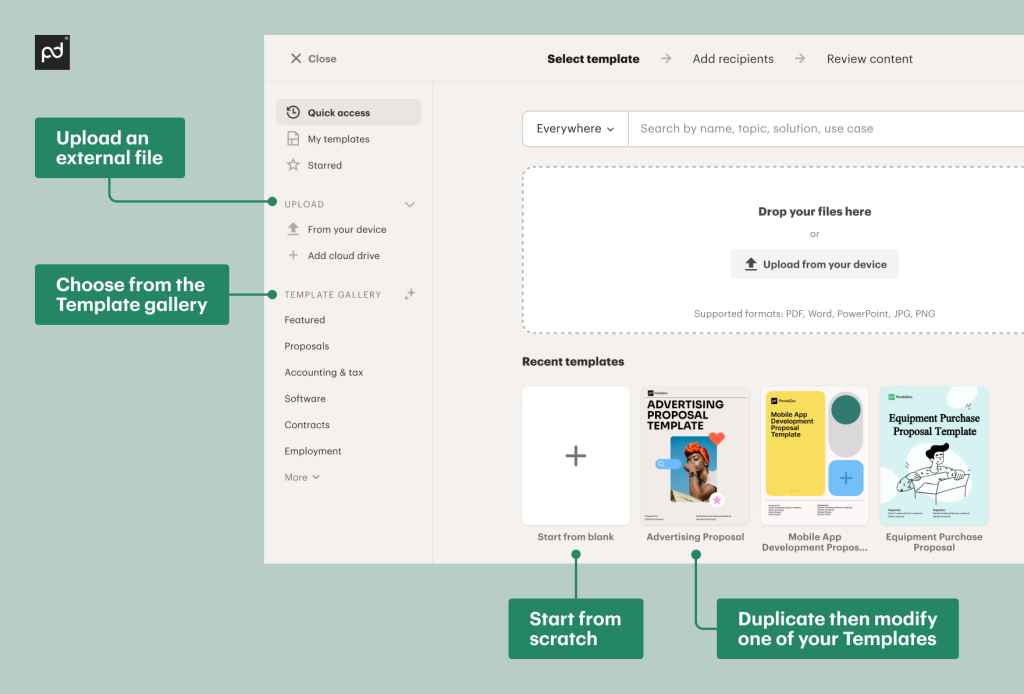
– Choose from the Template Gallery
Start with one of our pre-designed templates. You can add and modify to make it just right for you, but a lot of the heavy lifting is already done.
– Upload a Word doc
When you upload a Word Doc, it will be converted into a fully editable PandaDoc template. You will need to make some additions and modifications to formatting before it’s ready to use, but starting here will save some copying + pasting.
– Start from scratch
Starting from scratch gives you total control to build your template exactly how you want. Make sure you’ve taken a course or two in our Learning Academy before you get started for the smoothest experience.
– Upload a PDF or image file
Uploading a PDF or image is also an option. You can layer Blocks on top of your pages and add Fields, but all the preexisting text and elements on the pages you uploaded won’t be editable.
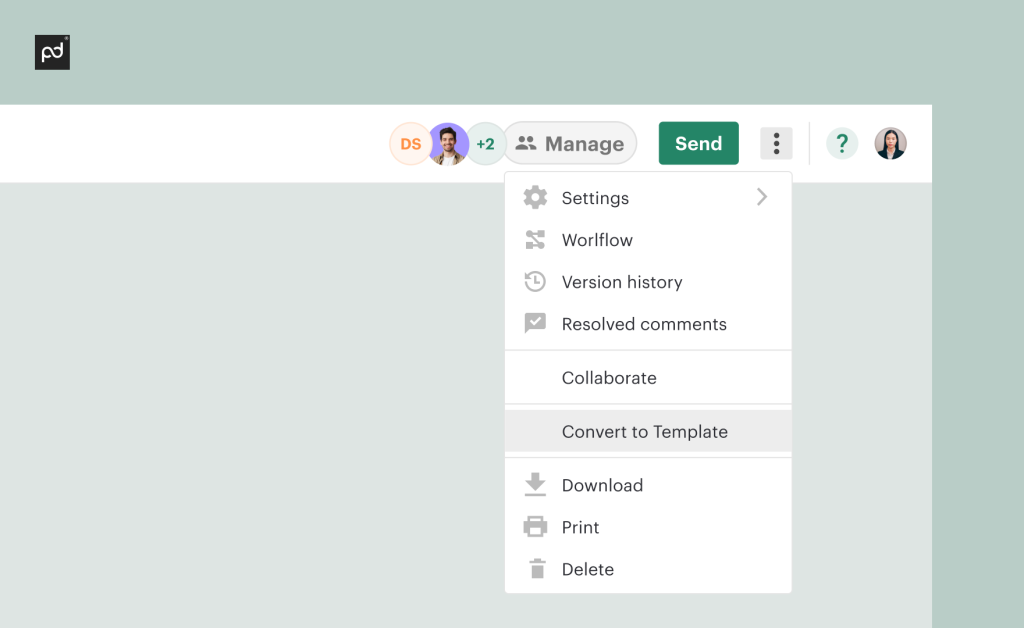
– Bonus option: Convert a document
You can also convert a document in PandaDoc into a template after you’ve started creating documents. This is helpful in case you make customizations to a particular document that you decide want to keep and reuse in the long term.
Anatomy of a template
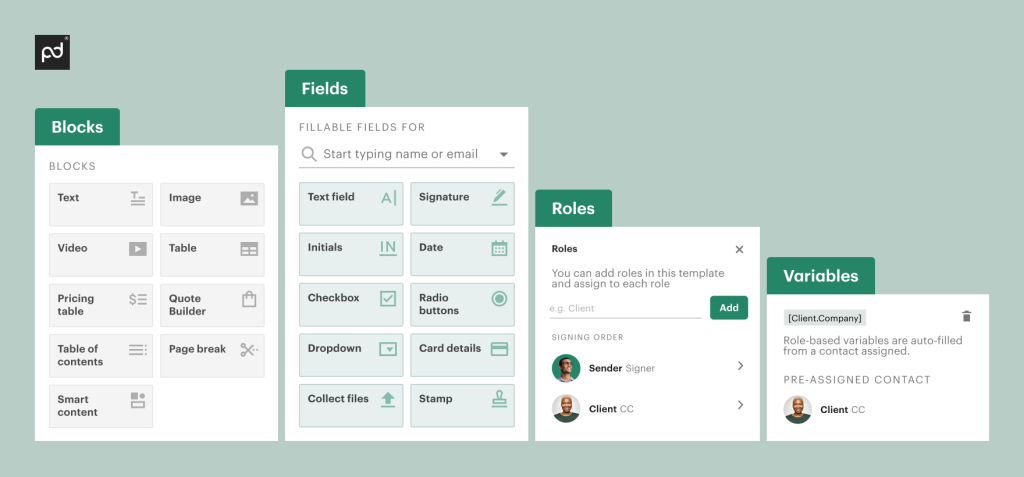
Get familiar with the key parts of a PandaDoc template:
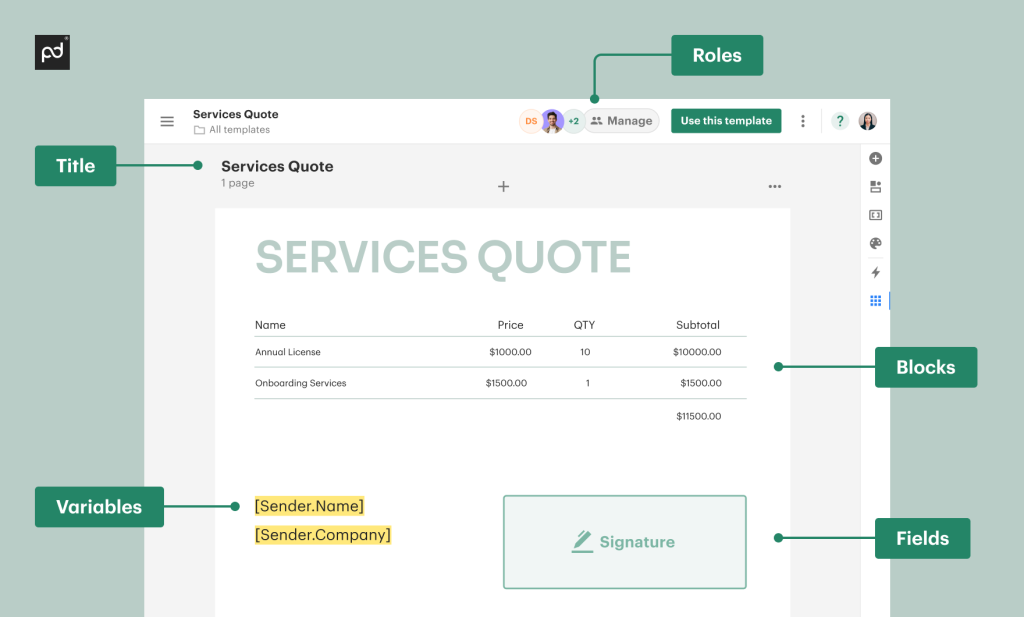
– Blocks
Blocks are all the pieces of content that make up your template.
– Fields
Fields are places you designate for a recipient to enter in some information.
– Roles
Roles are placeholders that will help you pre-assign Fields to future recipients. Additionally, you can easily populate information about your recipient into the document using Variables associated with a Role.
– Variables
Variables are placeholders in a template that are easily filled in when a document is created. They can be associated with a Role, pull in information from a database or CRM, or simply act as a reminder to fill something in.
Get more familiar with Blocks, Fields, Roles and Variables:
Building your template
When building a template from scratch or modifying an existing one, follow the steps below:
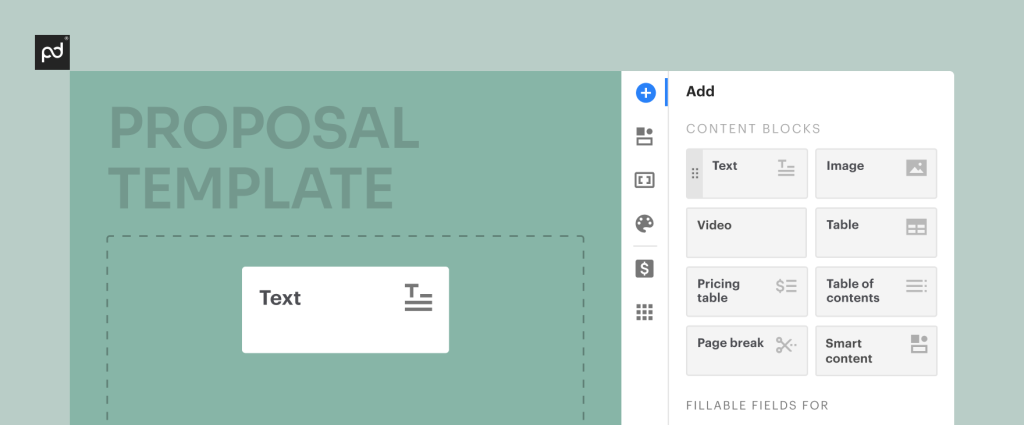
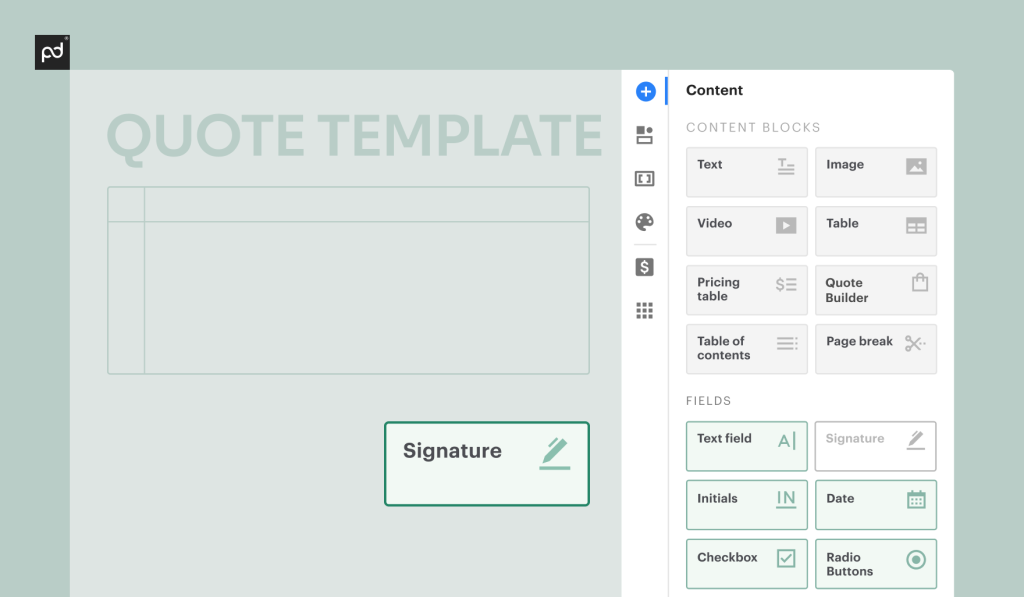
1. Get your Blocks in place
Blocks are the backbone of your template so you’ll want to start with these. You’ll need to at least have Text or Table Blocks in place in order to add Variables and Fields to them:
2. Add your Roles
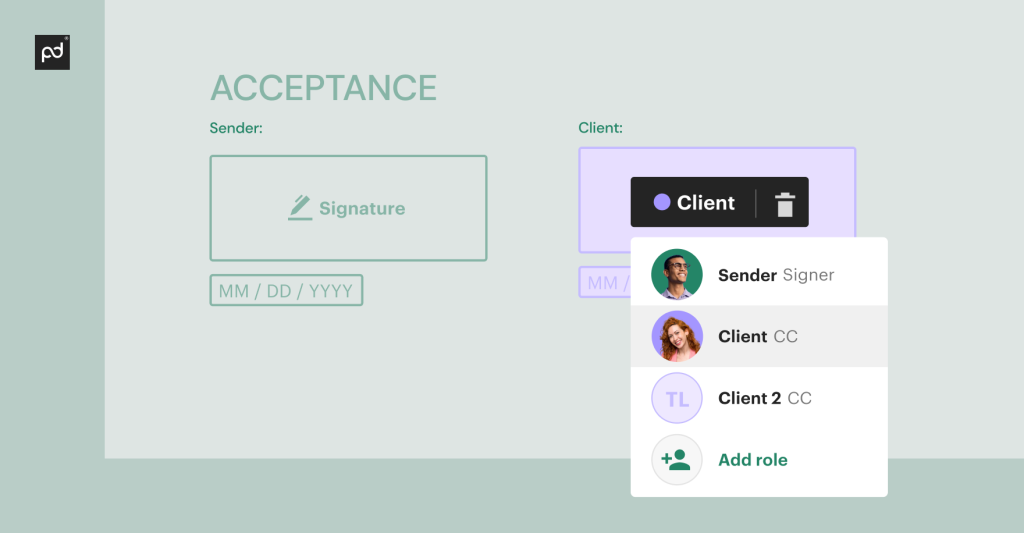
Add your Roles early on so you can add Role-based Variables and assign Fields to Roles. You can always add and modify Roles as needed, but if you do, make sure your Variables and Fields are associated with the right Role.
3. Copy + paste in your Variables
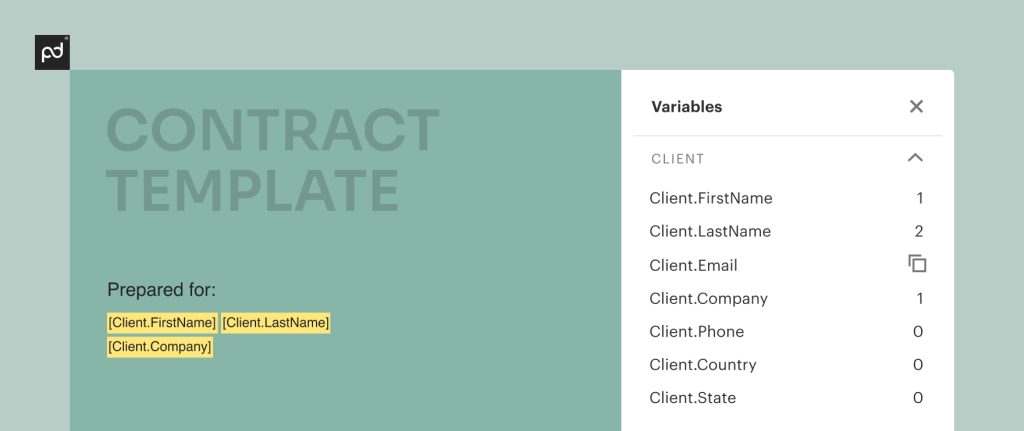
Role Variables: When you create a Role, a bunch of Variables related to it will be automatically generated in Variables side panel. Copy and paste these throughout your template to save time on data entry when you create documents later.
Custom Variables: You can also create a completely custom Variable by typing an opening bracket [ followed by your desired text. When you click the closing bracket ], your Variable will be created!
CRM Variables: If you connected a CRM, the Variables will be generated in your CRM so you can pull over information automatically. Just locate them within your CRM, then copy and paste them into your template.
4. Drag + drop in your Fields
Once you’ve gotten your Blocks how you want them, you’re ready to start bringing Fields over. Make sure they are assigned to the correct Role. You can make any Field optional or required.
5. Create + apply your design theme
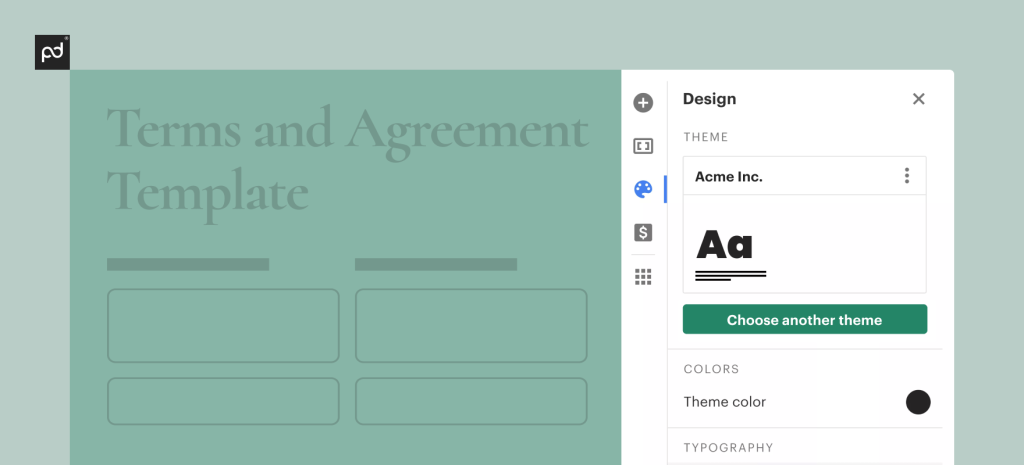
Use the Design sidebar to make formatting your template fonts and colors simple and uniform.
Set up all your preferences in the sidebar, then save the Theme. After that, apply to any template that you want to have that Theme applied. If you make changes to your Theme after it’s been saved, make sure you click Publish in the popup bar so your changes will be applied across any template with that Theme.
6. Set up your workflow
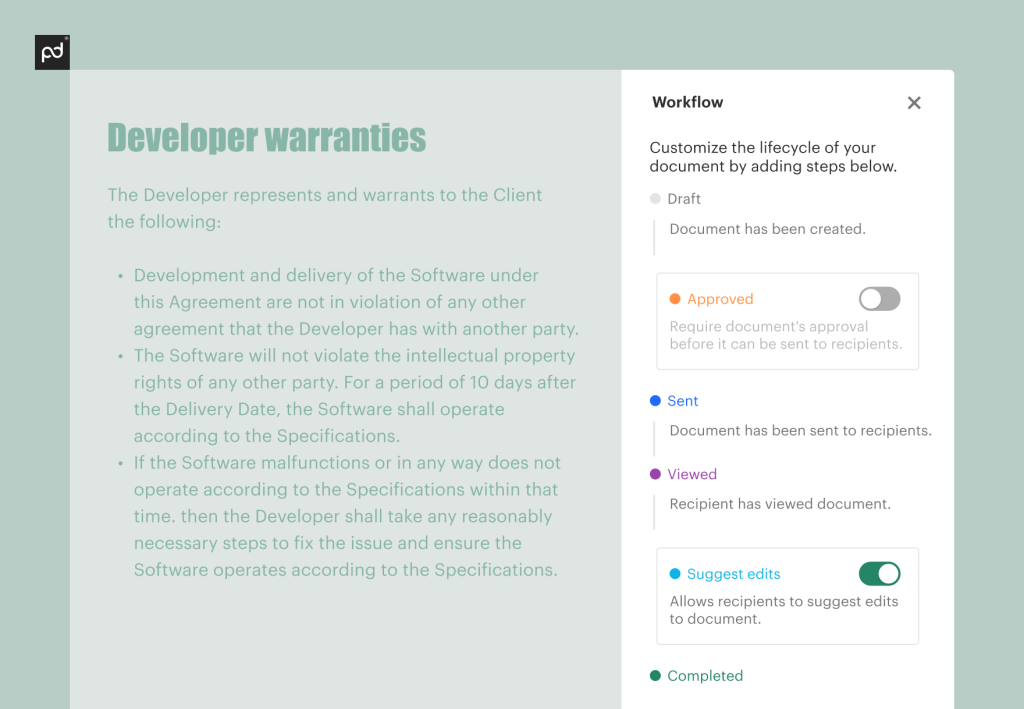
To set up your template Workflow, decide if you want the documents created from the template to go through an Approval process or not before it’s able to be sent.
You can also choose if you’d like recipients to be able to Suggest Edits to the document or not.
7. Dial in Template settings
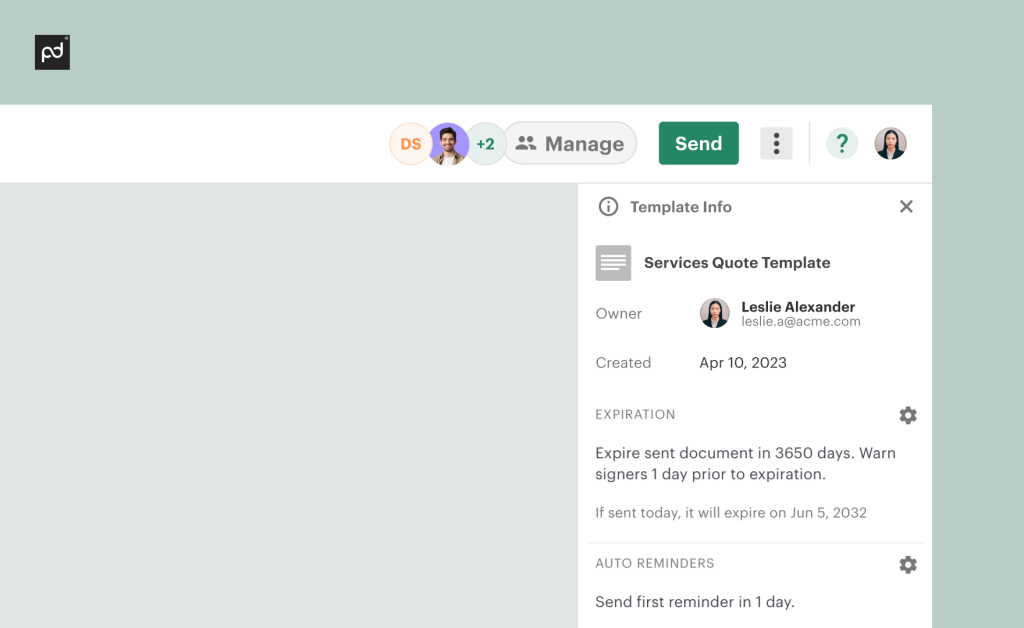
Think about what you’d like the default settings for Expirations and Auto Reminders to be for any documents created from your template. They can still be modified on the document level if needed, but having the defaults set for most cases saves time.
From here, you can also set the Recipient View Language, Template Sequence, Renewal Reminders, and add Tags you’ll want any document created from this template to have. Renewals is an Enterprise or add-on feature.
8. Consider Content Locking
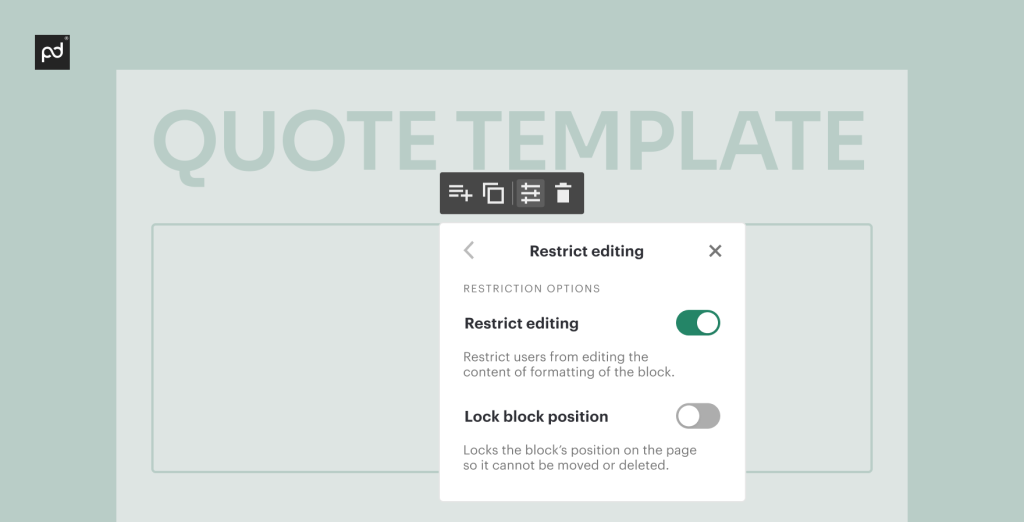
Content Locking allows you to stop users from making changes to certain Blocks of a document that’s created from your template. You can choose to prevent changes within the Block by selecting ‘Restrict editing’ and also prevent the user from moving or deleting the Block by selecting ‘Lock block position’.
This works great on legal terms and conditions or anything else you want to make sure stays unchanged. Content Locking is an Enterprise or add-on feature.
9. Bundle as needed
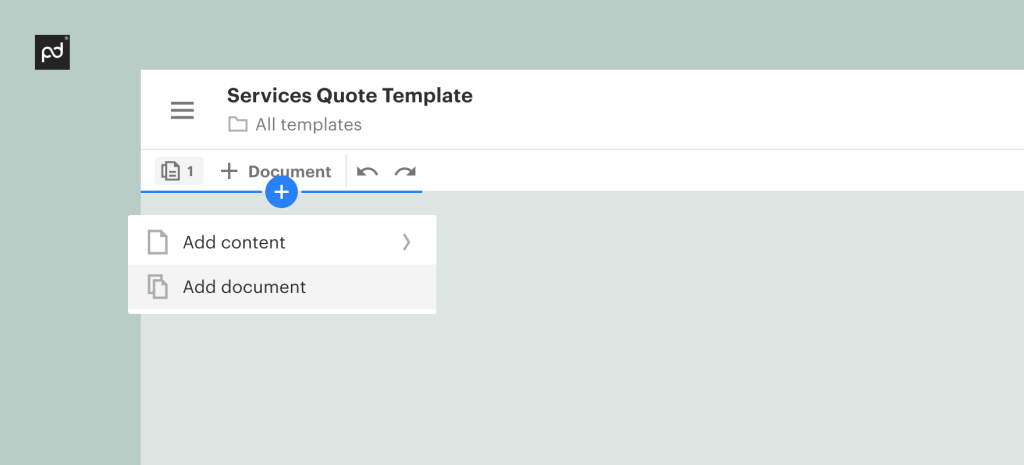
Need to send several documents in a single email? Use our Bundling feature to send your documents in one tidy package. You can set up Bundling in your template or decide to Bundle later while working on a document.
Quoting
Generate quotes, close deals faster, and speed up the sales process with our comprehensive quoting software that is built right into our Template and Document Editor. Our features include:
– Pricing Table
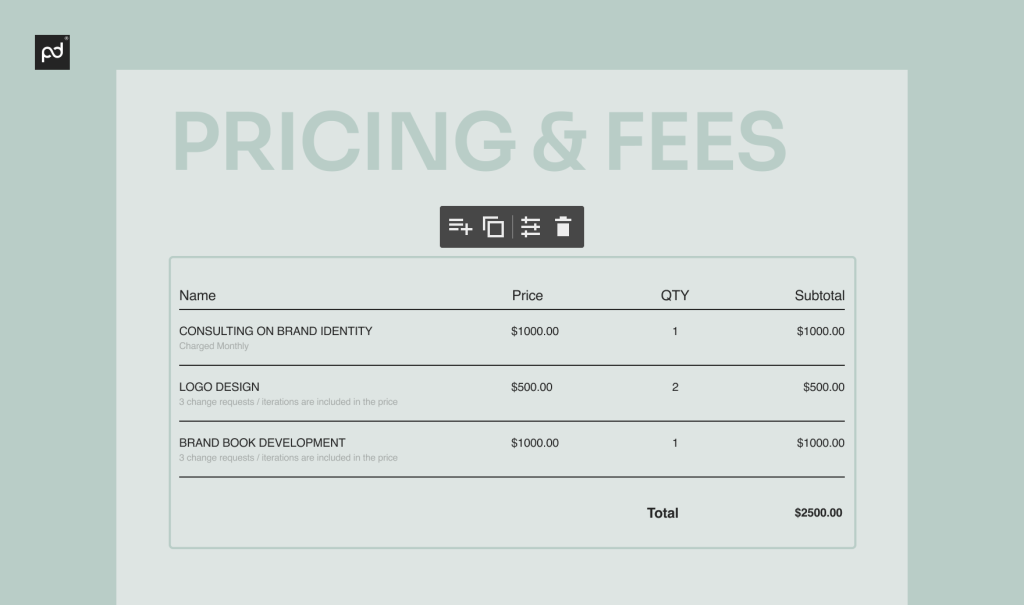
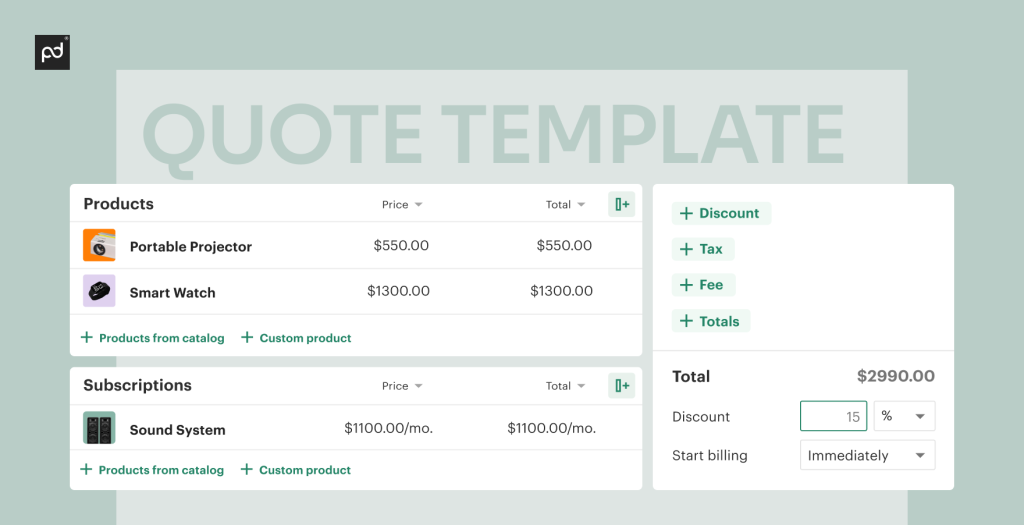
Our Pricing Table Block makes it easy to add products, apply taxes, and discounts, and calculate a Grand Total for your recipients. You can even use Variables to reference your grand total throughout your document! Learn more here.
– Catalog
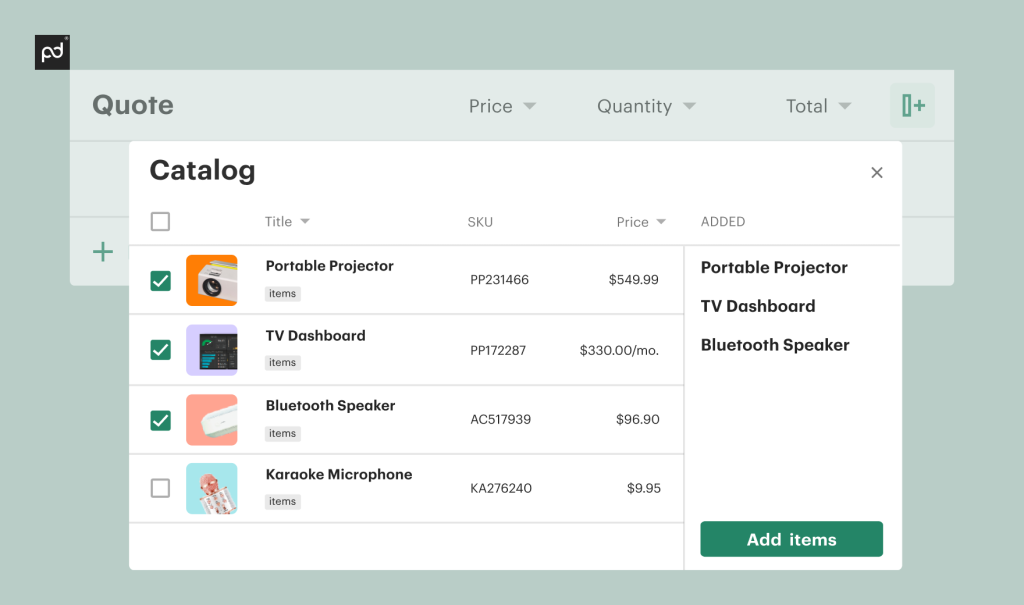
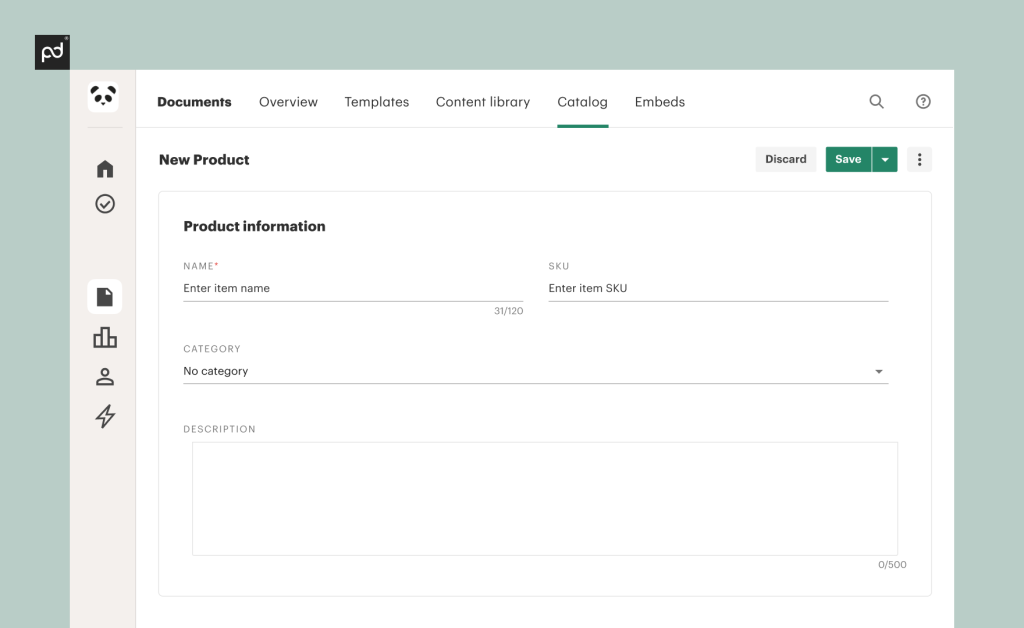
Add products to your Catalog so you can insert them quickly and easily later. You can add product names, descriptions, prices, images, SKUs, and currency. Learn more here.
PandaDoc also offers PandaDoc CPQ as an add-on or Enterprise Plan feature. Get more options for flexible and dynamic pricing, and our super sleek quote builder gives you more options. PandaDoc CPQ features include:
– Quote Builder
When you unlock the PandaDoc CPQ functionality, you also get the Quote Builder Block that makes it easy to tailor quotes to your exact specifications. Learn more here.
– Advanced Product Catalog
Perhaps the best feature of PandaDoc CPQ is the advanced Product Catalog. Unlocking this capability allows you to create Product Bundles, and set flat, recurring, or volume-based pricing. Learn more here. PandaDoc CPQ is an Enterprise or add-on feature.
Content Library
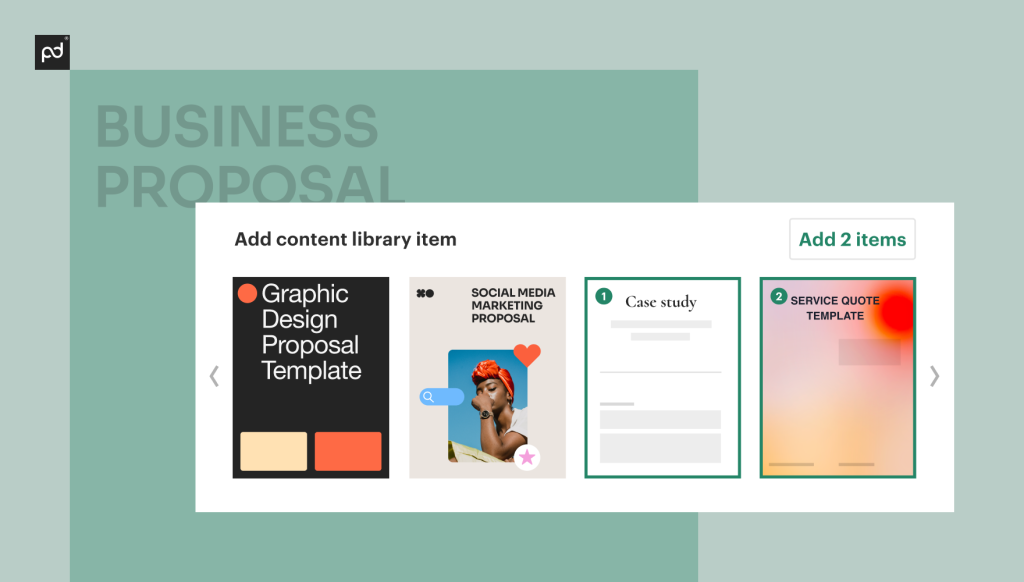
Easily add modular pieces of content, from blurbs to entire pages, anywhere in your document with just a few clicks using our Content Library, or take it to the next level with our Smart Content that allows you to add pieces of content using if-then logic and automation.
Stock your Content Library with all the case studies, product descriptions, terms and conditions, or whatever pieces of modular content you’ll need to have handy. Build Content Library Items from Scratch in the Content Library section of the app, or take something you built in a template or document and add it to the Content Library in a couple of clicks!
Learn more about the Content Library here. Content Library is available on Business and Enterprise plans.
Smart Content
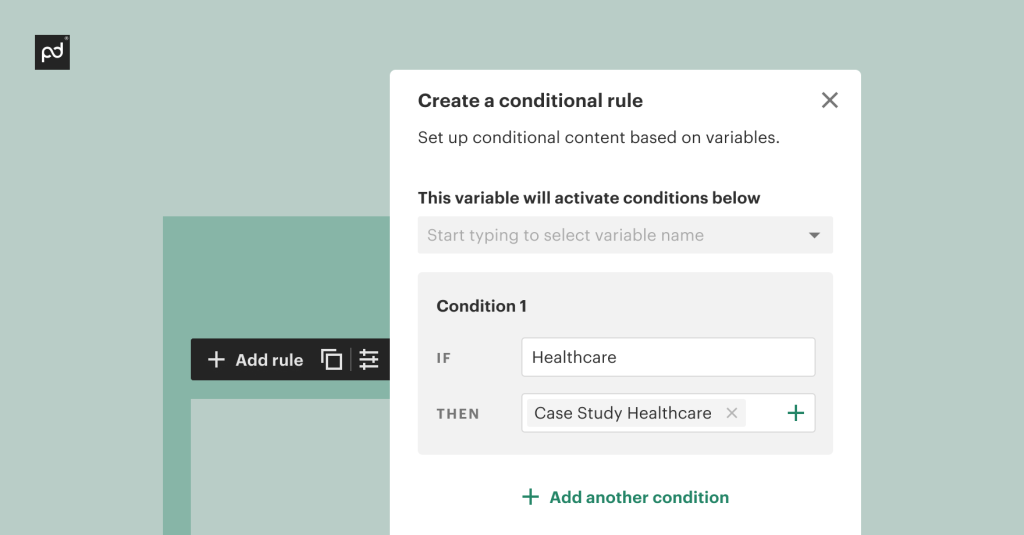
Smart Content supercharges your Content Library with logic and automation. Once you’ve stocked your Content Library, you can start setting up Smart Content in your documents. Drag over a Smart Content block into your template, set up the logic, and select which Content Library items will populate based on your specifications.
When a user is making a document from your template later, all the setup you did will automatically drop the right pieces of content in the right places throughout the document.
Learn more about Smart Content here. Smart Content is an Enterprise or add-on feature.
eSignatures
Improve the speed and security of your docs with PandaDoc’s seamless electronic signature software. Our signing features include:
– Legally binding eSignatures
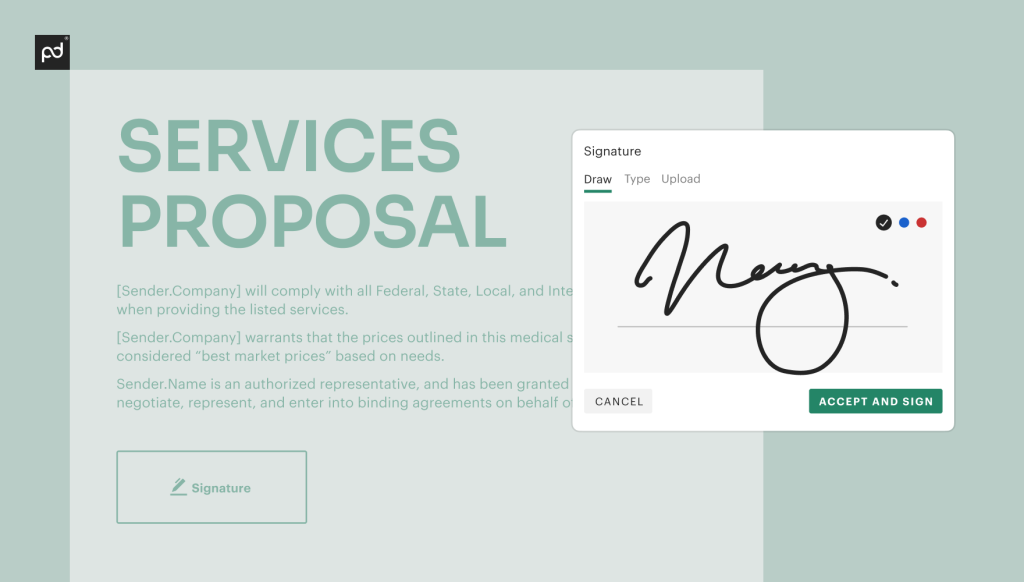
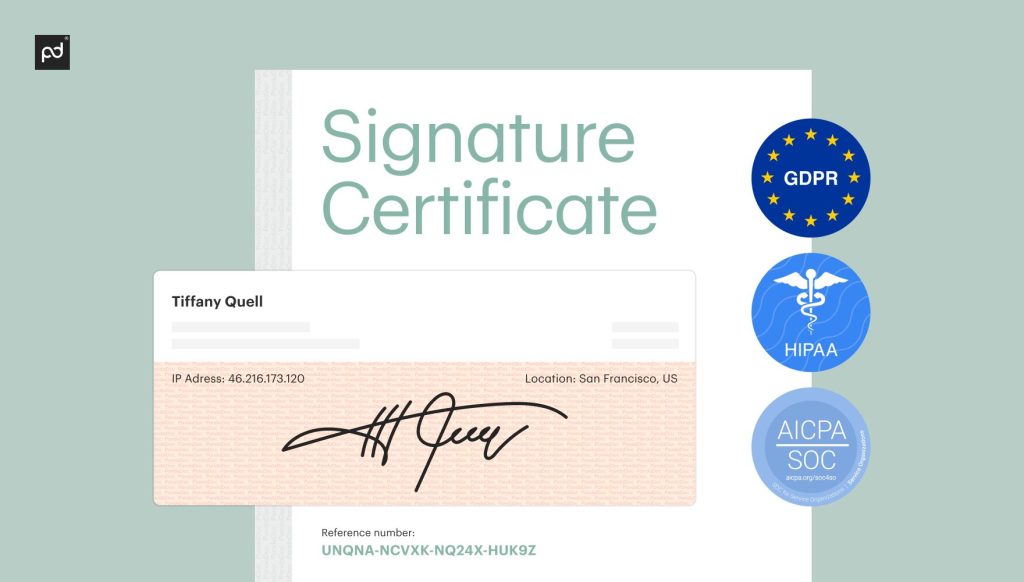
eSignature software technology from PandaDoc is legally-binding, ESIGN, and UETA compliant. We provide an electronic certificate with every eSignature that verifies a document’s legitimacy. Learn more about our eSignature certificate here.
- QES: Qualified eSignature
QES helps identify the signer of a document and generates an additional signature certificate that can be brought to court to certify the signature’s validity.
- Recipient Verification
Set up a unique passcode or SMS code for each document recipient which they will need to pass to view or sign the document.
– Signing Order
Set up your document distribution list so that your document gets sent to one person at a time. Find out more in this article.
– In-person Signing
Let recipients sign in-person on your device. See how.
- Signature Forwarding
Allow your recipients to forward the document to another person for signing. Follow the steps here.
- Collect signatures on forms
Collect signatures on standardized, web-based forms without needing to send a document each time. Read about it here.
Notary
We’ve built the first and only Remote Online Notary platform to create, edit, eSign, and notarize documents for your business within minutes.
When you use our RON platform, you have the peace of mind knowing it’s secure and MISMO certified. Learn more about Notary here.
Advanced Features
Learn about the advanced workflow features PandaDoc offers that can help you take efficiency and automation to the next level.
– Forms
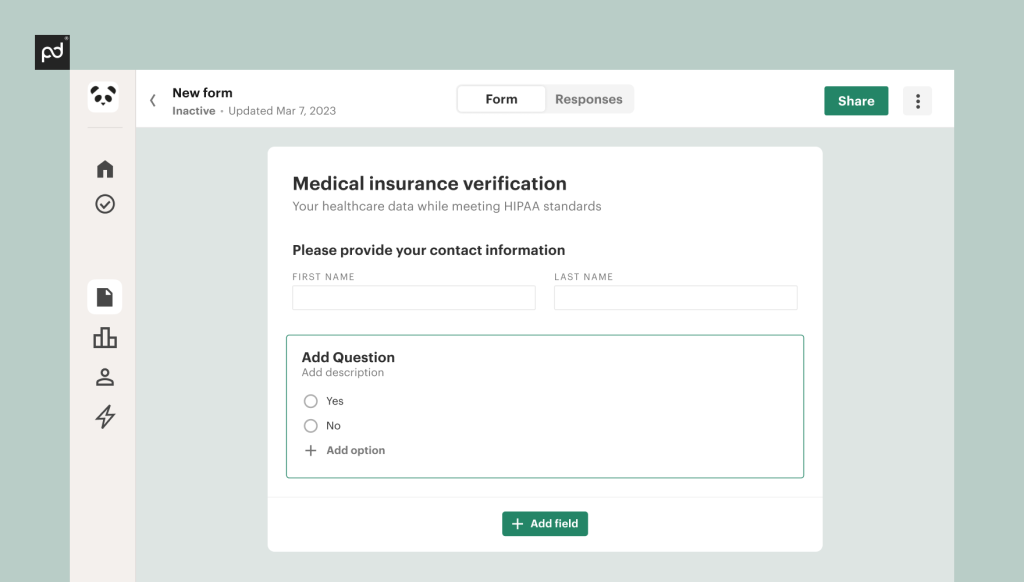
With Forms, it’s easier than ever to collect information and electronic signatures from employees, suppliers, prospects, and job applicants. You can share a Form via direct link or by embedding it on your website — no coding necessary.
our first 250 Forms are free so you can see if it will work for you. Read more about Forms and even test drive an example Form here.
– Bulk Send
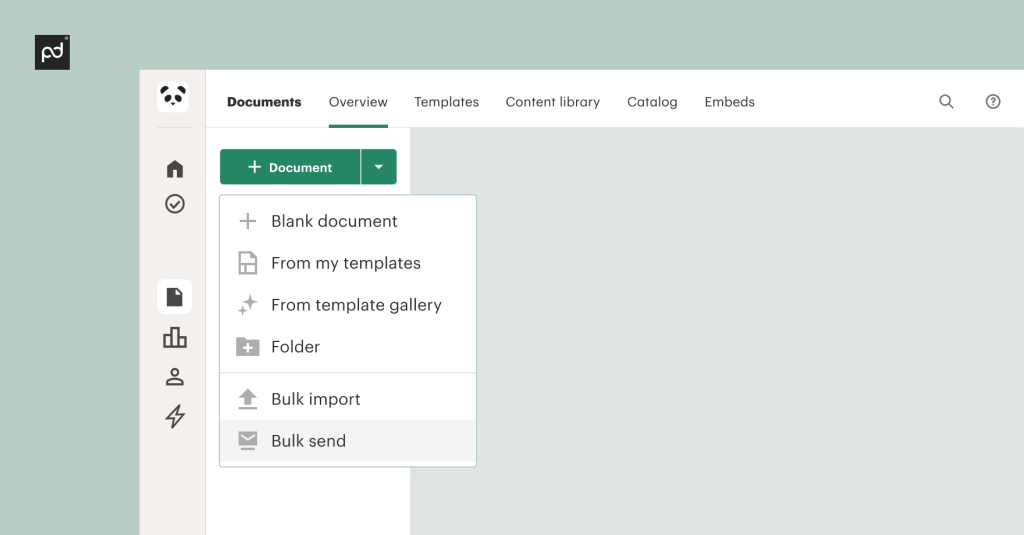
Have you ever had to edit multiple outdated policy documents or terms and conditions and send them to multiple recipients? That is pretty time-consuming, is it not?
Bulk Send can make that easy for you. With the Send feature, you can send one document to up to 1000 recipients at once! Send your first 250 Bulk Send docs for free. Learn more about how to do it here.
– Zapier
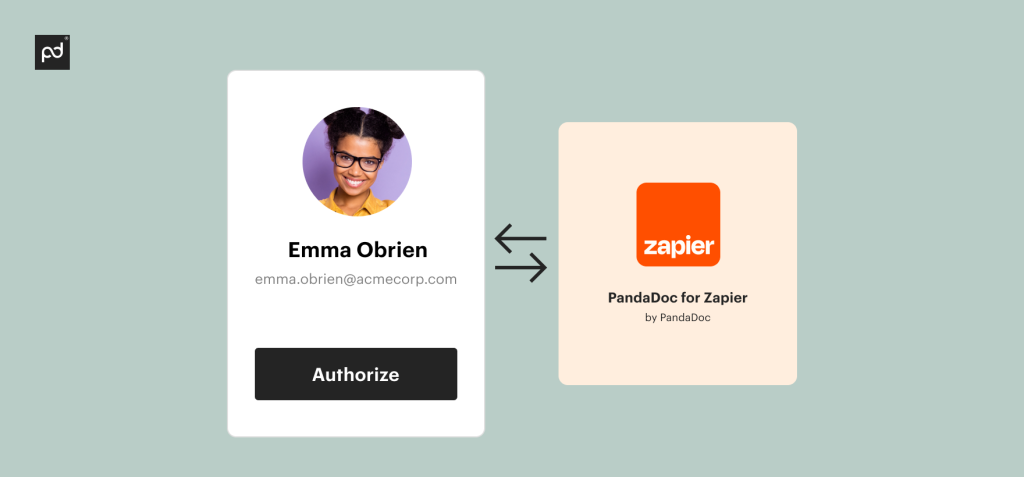
Our integration with Zapier lets you connect PandaDoc with thousands of the most popular apps, so you can automate your work and have more time for what matters most — no code required. For example, you can set up a Zap that says “If PandaDoc does this, make X do that.” Or, “If X does this, make PandaDoc do that.”
Zapier access is included in Business and Enterprise plans, but there may be fees on the Zapier side depending on the complexity of your automations. Learn more about how to get started with our Help Center Guide here or Zapier’s Guide here.
– API
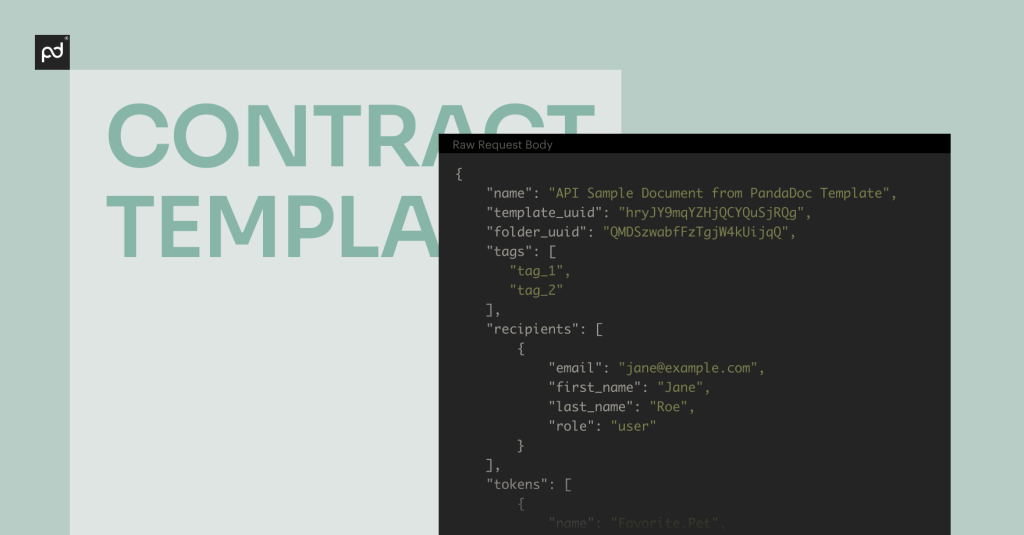
Automate your workflow and generate documents effortlessly with our customizable API — no tedious data entry. PandaDoc API spans a broad range of functionalities to help you build incredible document automation experiences inside your product.
PandaDoc API is organized around REST. Our API has predictable resource-oriented URLs and uses standard HTTP response codes, authentication, and verbs. You can start using PandaDoc API with our free sandbox plan, which allows you to open all the available features. The sandbox API key you can generate on the Developer Dashboard with predefined rate limits.
Reporting
In Settings > Team, you can see how many User Licenses are used and available in your account and invite new Users into the Workspace. Learn more about how to use the Reporting module here.
– Workflow Overview
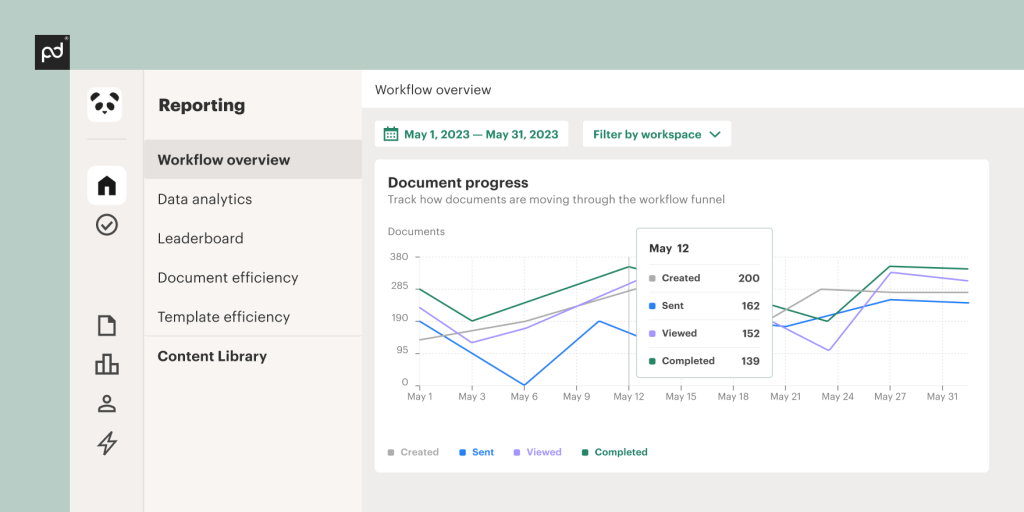
Workflow overview charts help you better understand your document funnel. Data in charts can be filtered by specific time periods and workspace.
– Data Analytics
Data analytics allows you to view detailed data on your document efficiency and customize it to your needs. You can also save and export a full CSV report in this tab. You can view document analytics by:
- Workspace
- Document creator
- Template used to create documents
- Document name
– Content Library Reporting
Content library reporting shows how many times your content library items have been used in your PandaDoc documents.
Conclusion & next steps
As your team continues to evolve, we recommend you revisit your account structure and document workflows regularly to maximize your team’s usage of PandaDoc.
We encourage you to continue your learning journey through the PandaDoc Learning Academy courses and office hours.