Truth be told, the whole shebang of buying or renting properties is a tricky one, especially if you’re a new renter or homeowner.
Add real estate contracts to the mix, and it becomes even more daunting.
Most realtors will also agree the whole process doesn’t get any less complicated, even for those who oversee a bunch of these properties and contracts on a daily basis.
And, to be fair, we understand the struggle. So, we’re here to help with all the need-to-know details about real estate contracts.
What’s a real estate contract?
Real estate contracts are an umbrella term for legally binding documents that involve the sale, transfer, purchase, or renting of any kind of property, be it commercial or residential.
These contracts are usually between two parties (e.g., homeowners and real estate agents, home buyers and realtors, owners and buyers, etc.).
What goes into real estate contracts?
The terms and conditions in any kind of real estate transaction differ from state to state.
For example, in California, transfer taxes are applied, so details about the same might need to go in the contract.
Similarly, in New York, during a home purchase, you’ll typically need to pay 10% of your mortgage loan as a down payment, and this money will need to be put into an escrow account — so details about your lenders may also need to be included in your contract here.
However, for the most part, here are all the key things you can expect to see in your real estate contract:
Names, contact information, and responsibilities of all parties
These details are the 101 of contract writing that specifies which parties are legally accountable for which responsibilities — this helps minimize discussions/fights later down the line.
Title insurance and title company details
Title companies are basically escrow companies that act as a mediator between buyers and sellers. In some cases, title companies also offer title insurance to protect sellers/banks from financial loss.
Information on all liabilities
Liabilities can include property taxes, interest rates, HOA fees, utilities, city and state taxes, any other kind of added fees, etc.
Address and description of the property
This dictates the exact allocation of land the property has, in case of any property disputes with the neighbors and/or the city.
Sale contingency
If applicable, sale contingencies usually have to do with home inspections, repairs, securing funds, etc.
Information about the cancellation of the contract
This allows both parties to rescind their offer/acceptance if they find any issues with the property/client, or if they get a better deal.
Disclosures and warranties
Various kinds of warranties and disclosures are added in real-estate contracts, such as disclosure of lead-based paints, disclosure on property defects, warranty of the real property, etc. (Disclosures of property are legally required.)
Other miscellaneous details
Information about the closing date, the purchase price (or rental price), earnest money deposit, avenue of finance, condition of the property, representations, etc., are also included in real estate contracts.
Based on federal law, all contracts must have an offer, consideration, and acceptance for them to become legally enforceable.
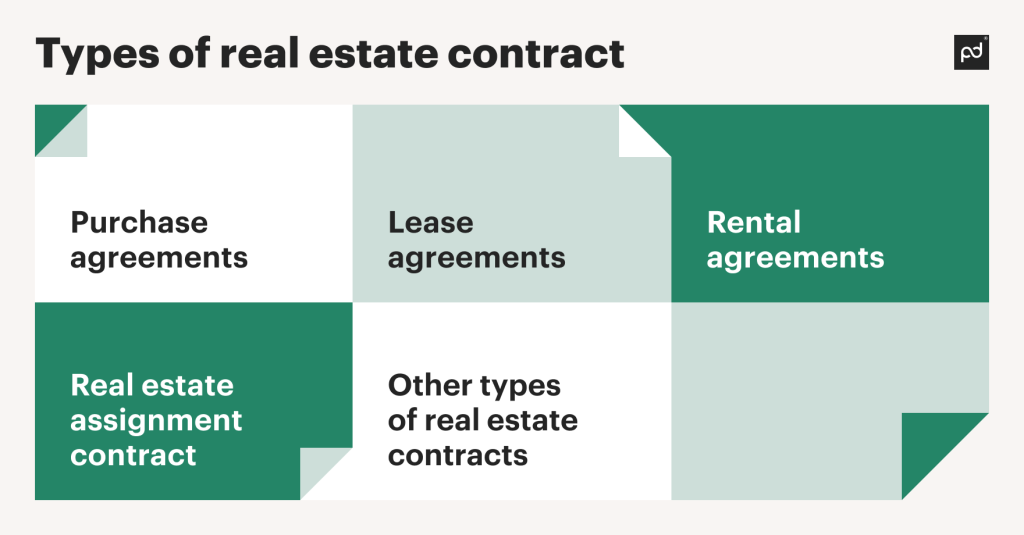
Types of real estate contract

1. Purchase agreements
Purchase agreements, also known as sale agreements or sale contracts, are documents that signify the purchase of a property between two parties.
And while these are typically used for real estate transactions, purchase agreements can be developed for the sale and purchase of any kind of a large ticket item (e.g., art or machinery).
These agreements typically outline the conditions of the sale, the governing law applicable, and the steps to take during a dispute — barring these, they also have the details mentioned in the previous section, such as information on closing dates, purchase price, parties involved, etc.
2. Lease agreements
Lease agreements are created between landlords and tenants (both parties can either be individuals or business entities) to outline the conditions of the lease, such as the timeline, money owed, conditions of termination, grace period, termination period, responsibilities and rights of both parties, etc.
Although often used interchangeably, lease agreements are not the same as rental agreements.
Lease agreements typically offer longer-term arrangements (usually for more than a year), cannot be automatically renewed, and have more legal ramifications.
3. Rental agreements
Rental agreements, on the other hand, are quite like lease agreements and are made between the same two parties (landlords and tenants) but are typically for shorter rentals (e.g., a few days or weeks).
A quick way to distinguish between the two is to think of long-term rental properties as lease agreements, whereas thinking of Airbnb stays as rental agreements.
4. Real estate assignment contract
Real estate assignment contracts are typically used by investors in situations where they want to buy a property at a good value and then sell it to a different buyer at a higher value.
Think something along the lines of what Zillow does.
The homebuyer also has to pay an assignment fee to this investor before the closing date for facilitating the transaction and relinquishing all their rights.
5. Other types of real estate contracts
While the above-mentioned documents are some of the commonly used real estate contracts, this industry also uses an N number of other contracts and agreements, such as:
- Power of attorney agreements
- Rent-to-own agreements
- Contract for deed
- State/association purchase agreement
- Property-specific purchase agreements
- Option agreements
- Land contracts
How long are most real estate contracts?
While there’s no hard and fast rule on how long real estate contracts should be drawn for, the common timespan for a commercial real estate contract to be drawn up is three months up to a year, and for residential real estate contracts, the timespan changes to three to six months.
Who’s responsible for creating real estate contracts?
In most cases, if you have a real estate agent brokering an agreement, they’re also the ones to get their lawyers to draw up a contract.
However, if you don’t use the services of a realtor, the new homeowner is typically liable to create this agreement.
This changes in the scenario you’re drawing up lease agreements or rental agreements, where the tenant is now responsible for getting the contract so both parties can sign.
It must be stated that in all situations, regardless of whichever party is responsible for getting these agreements sorted, these agreements/contracts should be created by a real estate lawyer.
If you don’t have a lawyer to act as a mediator and facilitate your real estate transactions, you can manage your contracts with PandaDoc by getting all parties onboard to legally e-sign documents (as an added benefit, you get to access a registered notary and real estate templates on PandaDoc too!)
What is the most common real estate contract?
Purchase agreements, lease agreements, and rental agreements are typically the most common contracts developed regardless of whether the buyer or the seller is an individual or a commercial entity.
Additionally, while not directly related to real estate transactions, loan agreements are also common to facilitate the sale of personal properties.
If you get real estate agents in the mix, you can also expect to see documents like open listing agreements, net listing agreements, exclusive agency listing agreements, and exclusive right-to-sell listing agreements.
Manage your real estate contracts on PandaDoc
If you’ve stuck around till the end of this article, one thing’s crystal clear: you want to bid your contract-related troubles goodbye.
Ideally, you might be looking for a solution that has all the necessary contract templates, can help you collaborate with all parties, allows you to sign contracts, and can be used to manage all your documents seamlessly.
And PandaDoc is here to help you out in all regards, and here’s how:
- You can access our 14-day free trial to get all the e-signatures you need to get your contracts finalized!
- You can use our professionally written real-estate templates for reference (these include rental agreements, lease agreements, deed of trust, loan agreement, general warranties, and more).
Last but not least, you can even use our learning academy or get an on-demand product demo to understand PandaDoc’s entire offering and see how it can be used for your particular use-cases!
Disclaimer
PandaDoc is not a law firm, or a substitute for an attorney or law firm. This page is not intended to and does not provide legal advice. Should you have legal questions on the validity of e-signatures or digital signatures and the enforceability thereof, please consult with an attorney or law firm. Use of PandaDocs services are governed by our Terms of Use and Privacy Policy.


