How to do electronic signature on a phone
Yes, many mobile applications and platforms offer the option to draw a signature on your phone, allowing you to e-sign documents easily.
This electronic signature is often legally accepted and provides a convenient way to sign digital documents on the go.
Whether you use an Android or an iOS device, knowing how to sign documents on your phone is particularly useful, as it allows you to complete contracts and finalize decisions.
Read on to understand when, why, and how to draw a signature on your phone.
This article covers:
- Why is it useful to use an electronic signature on a mobile phone?
- Is a signature on a phone legally binding?
- Electronic signatures vs digital signatures
- How to create an electronic signature and sign documents on a phone?
- The CreateMySignature online tool
- Using the PandaDoc App to create an e-signature on your phone
- Create and digitally sign PDFs with PandaDoc
Why is it useful to use an electronic signature on a mobile phone?
Knowing how to make an e-signature on a phone is important because they allow companies to legally approve contracts remotely.
Unlike handwritten signatures, which must take place in person, electronic signatures can be acquired through any electronic device, such as a computer, iPad, iPhone, or Android phone.
For business users operating remotely, these signatures are a cornerstone of daily business operations.
E-signature solutions can be used to hire employees, award service contracts, agree to proposals, and much more.
Is a signature on a phone legally binding?
Yes! Although electronic signature law varies from country to country, the major basis for electronic law legality in the US and EU comes from the Uniform Electronic Transactions Act (UETA) and the eIDAS Regulation, respectively.
Under these guidelines, documents with a valid digital signature from a phone or other device are considered legal and binding in the eyes of the law, as though the signer wrote their physical signature on a document.
In some ways, the term “electronic signature” is misleading because a digital signature doesn’t have to resemble a handwritten signature in any way.
Electronic signatures vs digital signatures
There are two basic types of signatures that you can create when trying to create a signed document on your phone: Electronic signatures and digital signatures.
Most legal definitions define an electronic signature as a “sound, symbol, or process” that is logically associated with a contract and the person who intends to sign it.
This is why it’s possible to upload a virtual image of your signature and use it to sign a document.
However, this is risky for contracts and legal documents because of repudiation — the ability for signers to deny the authenticity of the signature.
That’s why we always recommend digital signatures for important documents.
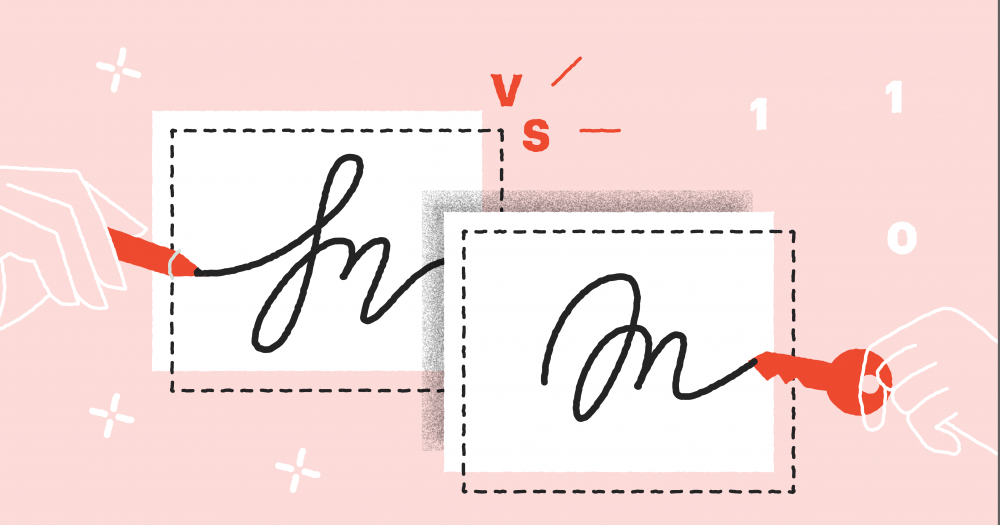
Digital signatures use electronic identification methods, such as digital certificates, audit trails, personalized login information, or access codes attached to a signer’s identity to prove who signed the document.
A mobile app from a trusted e-signing solution like PandaDoc can ensure that when you create a signature on your phone, it is valid, mobile-friendly, and has everything it needs to defend against repudiation.
How to create an electronic signature and sign documents on a phone?

So, how do you sign documents on your phone?
There are actually countless ways available now, you just have to make sure to choose the best one.
At the most basic level, your phone comes equipped with everything you need to be successful.
Any smartphone comes equipped with a touchscreen.
You can also use a stylus to improve your signing experience in order to create a more realistic signature on your mobile.
The CreateMySignature online tool
If you’re looking for a tool that you can use regardless of which mobile device you own, CreateMySignature is a free online tool that can help.
With CreateMySignature, you don’t need a piece of paper or a download from the App Store.
- Head to CreateMySignature.com
- Select “Draw signature” if you need a downloadable image for use in Google Docs, Microsoft Word, or other software tools.
- Draw your signature using your touchscreen. You can also use a stylus (or trackpad, if your device supports one) for more fine-grained control when drawing in the signature field.
- Click on “Save.”
- Click “Download” to download your new signature into cloud storage for use in PDF files, Word documents, and other forms. Export to Google Drive or Dropbox for use across multiple platforms.
Using the PandaDoc App to create an e-signature on your phone
Using the PandaDoc e-signature app, you’ll have unparalleled control when handling signature requests.
Our app allows you to sign any document at lightning speed.
Here’s how to do it:
- Locate the document you need to sign from your document dashboard.
- Review the document, along with any fields that require additional information.
- Fill out any outstanding fields.
- Follow the prompts to e-sign and complete the document.
When signing with PandaDoc, you’ll have the option to create your signature in multiple ways.
While you can draw a new signature on your touchscreen device, you can also simply type your name or upload a pre-drawn copy of your signature.
You can also manage existing documents or prepare and send new documents to other signers through the app.
To do this:
- Inside the PandaDoc app, tap on the “+” logo and choose how you would like to upload a document. You can do this by capturing images with your phone camera, uploading a file, or choosing an image from your gallery.
- In the document view, drag the “Signature” field onto your uploaded document and tap to sign.
- Tap “Finish.”
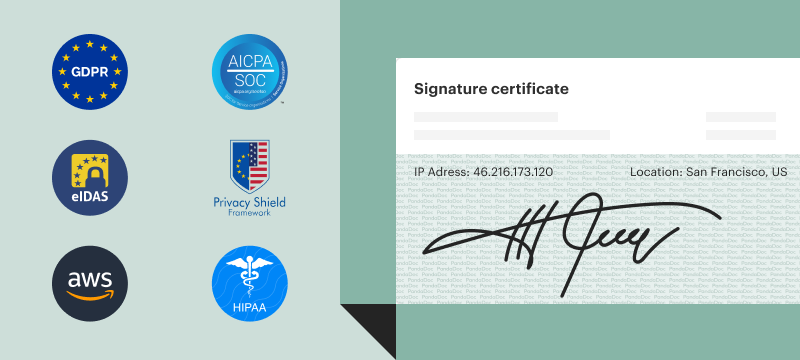
Once your document is completed, you’ll receive a signature certification to accompany your document.
This digital certificate is always shown on the last page of the PDF file when you download a completed document.
Like a fingerprint, this certification is unique.
It includes a document reference number, the recipient’s name, and other identifying information to prove when the document was signed and completed, making electronic signatures from phones much more secure.
Create and digitally sign PDFs with PandaDoc
Beyond our app, PandaDoc comes equipped with tools to help users streamline building and signing documents.
PandaDoc users can take advantage of our document builder to easily create beautiful, eye-catching proposals, contracts, fillable forms, and more.
Combined with our CRM, design, and payment integrations, it’s easier than ever to create and prepare documents completely from scratch and transform those documents into templates that can be used again.
Click here to begin your signing process with PandaDoc!
